
You know the feeling. You are setting up on stage at a local venue, you plug your rig in, and the moment you turn up the volume, a massive, obnoxious buzz fills the room. Between the venue's neon signs, the stage lighting, and questionable electrical wiring, your bass has suddenly become an antenna for 60-cycle hum.
If you play in a progressive fusion ensemble or a heavy metal project, you are likely running some drive or compression on your signal. That means any background stage noise gets amplified exponentially, muddying up your mix. Fortunately, building a Faraday cage inside your instrument—a process known as shielding—is a cheap and highly effective cure.
Whether you are holding down the groove on a classic Fender Precision or navigating a modern workhorse like a Yamaha BB434M, here is how to bulletproof your tone against electromagnetic interference (EMI).
Choose Your Weapon: Tape vs. Paint
To create your shield, you need a conductive material to line the cavities of your bass.
Copper Foil Tape: The gigging musician's standard. It is cheap, easy to apply, and highly conductive. Always buy tape with conductive adhesive so you do not have to solder the overlapping strips together.
Conductive Shielding Paint: Ideal if your bass has complicated, cramped routing that is hard to tape. It requires multiple coats and a full day to cure, but it leaves a clean, factory-like finish.
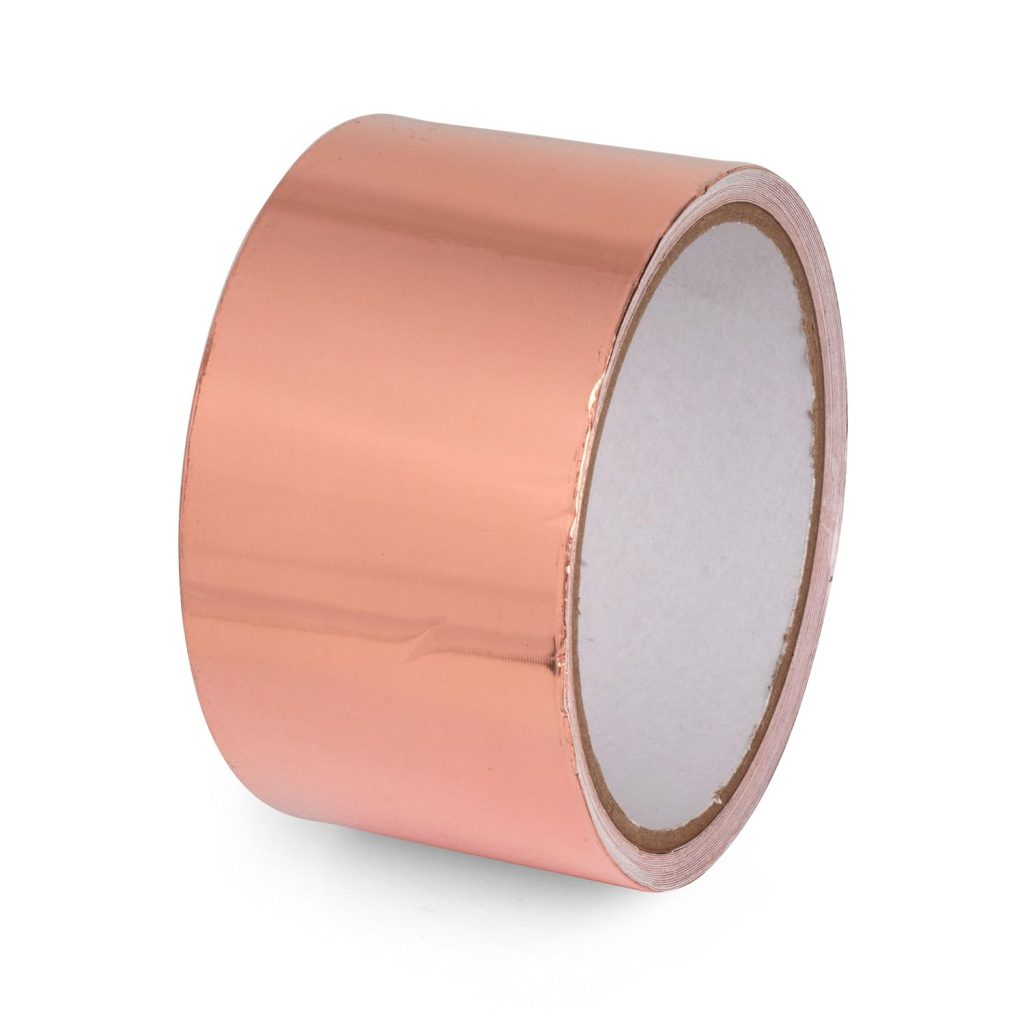

The Shielding Process
Creating a Faraday cage means completely encasing your electronics in a grounded, conductive shell.
1. Gut the Electronics
Remove your strings, unscrew the pickguard or control plate, and carefully lift out the potentiometers and output jack. Take a few clear photos of the wiring with your phone before you desolder the bridge ground wire—you will thank yourself later.
2. Line the Cavities
If you are using copper tape, line the floor and walls of every electronic cavity (including the pickup routes). Overlap every piece by at least a quarter of an inch.
Crucial Detail: Fold a small lip of copper tape over the top edge of the body cavity. This ensures the tape inside the body makes physical contact with the shielded pickguard when you screw it back down, closing the "roof" of the cage.
3. Shield the Pickguard
Flip your pickguard over and apply copper tape across the entire area that sits over the electronics. Smooth it down flat so it does not interfere with the wiring.
4. Ground the Shield
A shield that is not grounded is just a metal box that traps noise. The easiest way to ground your new shield is to ensure the metal chassis of your volume and tone pots (which are already grounded) touch the copper tape on the back of your pickguard.
5. Test for Continuity
Grab a digital multimeter, set it to the continuity beep, and touch one probe to the tape in the cavity and the other to the metal shaft of your output jack. A solid beep means your shield is properly grounded.
The Perfect Time for Upgrades
Since you already have the hood open and the soldering iron hot, shielding presents the perfect opportunity to swap out your electronics. Upgrading a stock bass with a set of heavy-hitting, hum-canceling pickups—like the DiMarzio Relentless—paired with a fresh copper shield guarantees a massive, aggressive output that remains dead silent when you mute the strings.
Reassemble your bass, plug it in, and enjoy a noise-free signal, no matter how chaotic the venue's electrical grid happens to be.
